SWAP 2015: Plaid Button Down finished

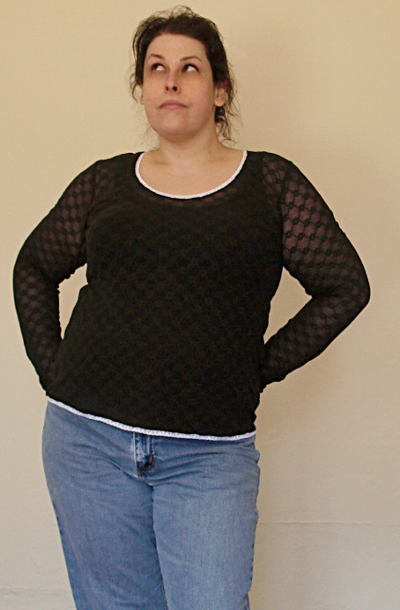
I’ve finally finished the plaid button down for my SWAP 2015. The shirt was mostly finished for weeks, but didn’t have button holes. (I always seem to drag my feet when it comes time to make the button holes.)

This is Burda 4-2011 which I’ve made three times before (only one has been blogged). I didn’t include the front darts and instead rotated them out into the side seams before cutting (because the fabric is so thick, I wanted to avoid as many darts as possible).

OLYMPUS DIGITAL CAMERA

This shirt is made up in a Marc Jacobs wool/cotton blend from Fabric Mart that I had the bright idea to pre-wash warm enough to felt (total accident). So, the texture changed from being a smooth flannel to being bumpy and blanket-y. Admittedly, I kinda like it, even though the extra texture makes me look like I’m wearing a blanket. It’s definitely nice and warm, and though my dragging my feet on getting those button holes finished made me worry I wouldn’t have reason to wear it this year, we’ve had another cold snap (they’re predicting snow tomorrow, though it was in the 70s earlier this week).

OLYMPUS DIGITAL CAMERA

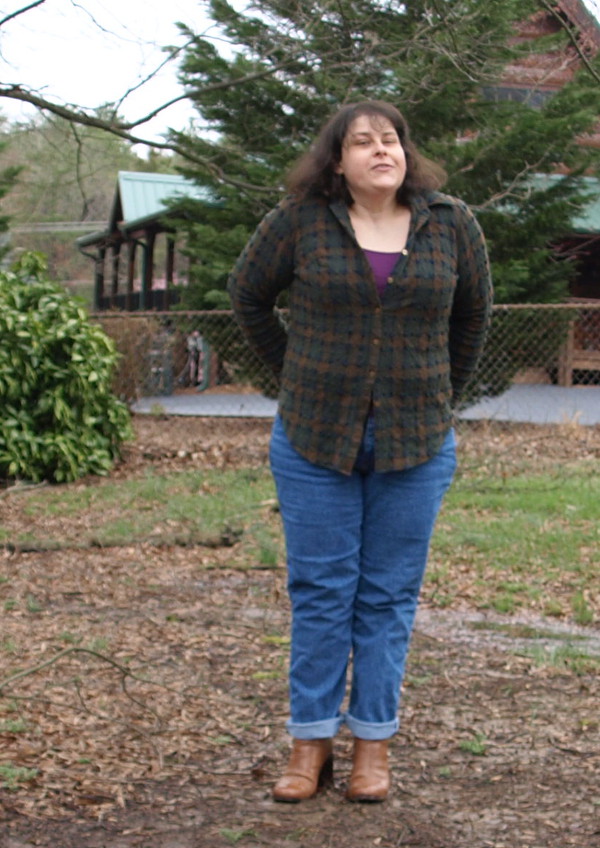
My camera’s remote battery has died (again), so these are self-timer shots and are very, very blurry. Oops! (I took nearly 50 photos and these were the least blurry in the bunch.)

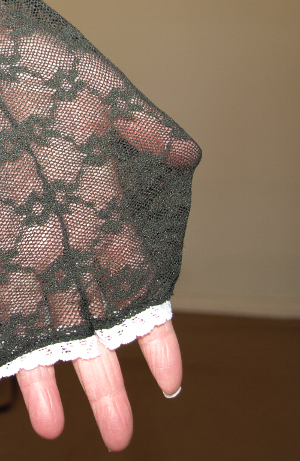
The colors are olive, forest, and navy blue which will fit nicely in with the other fabrics I chose for my SWAP. I think this close up gives a good sense of the texture, though the colors are a bit off as the flash fired.

OLYMPUS DIGITAL CAMERA

Construction notes: buttons from Wawak. Sleeve plackets done using Thread’s tutorial. Collar done using Tasia’s recent collar tutorial. I’m not sure I like it, though it definitely has more shaping than my previous attempts. Her instructions were incredibly clear and thorough and it didn’t take much extra time to do it her way. I used Wonder Tape for the shirt tail hem (to keep it from stretching) and for any fiddly seam allowances (the collar stand, front button placket–to keep the plaid matched–and the sleeve plackets).

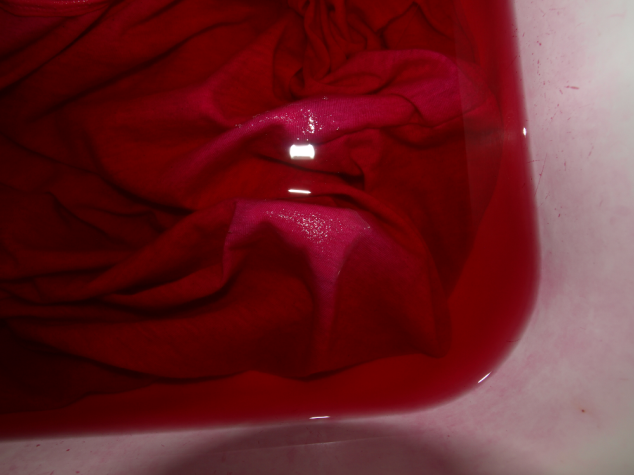
In terms of the rest of my SWAP, it looks like the raincoat is going to be scrapped for now–can’t get the muslin how I want it. The sweater is definitely out as I’m making terribly slow knitting progress. I’m thinking of replacing the red dress (though that’s been finished since Christmas, and would save me having to do a new make) with a Madewell knockoff as I think that’ll better suit the style of the wardrobe.

My next project will probably be the safari jacket–I’m feeling really inspired about tackling it after seeing the Ralph Lauren S/S 2015 show. I’m going to do the underside of the collar in a moleskin after seeing that they did this one in suede and I liked the subtle mix of textures (plus, I have a moleskin that seems like a suitable match).

Lace Deer and Doe Plantain

The Deer and Doe Plaintain is an a-line t-shirt that’s been really popular–and with good reason. It’s super easy! I made this one in a stretchy lace that my mom had had forever. (Seriously, forever, I remember this stuff from when I was a kid and it wasn’t new then.) No idea about fabric content, but it’s very stretchy in both directions. I finished it with some narrow lace on each of the edges, mostly because I thought  it’d be pretty to dye the whole shebang and have either emerald green or scarlet lace at the neck and cuffs. But, since I still haven’t decided which color to dye it… It’s white.

Though it doesn’t look super low cut in the photo, I think I’ll take the scoop neck up a bit the next time–I’d have liked it to come up higher than the tank so there’d be more balance.

lace-plantain

All zig-zagged, my Brother sewing machine refused to even consider stitching this fabric (kept pulling it into the throat plate, no matter what I tried), so it’s done on a 1960s Singer machine.

I thought about underlining it, but decided I liked the idea of being able to swap out tanks underneath. Here’s a closeup of the lace pattern (and the tiny trimmed down seams).

lacepattern

Gertie’s Portrait Blouse

fuchsia Rit Dye
I’ve been pining for a portrait blouse ever since I saw Gertie’s vintage blouse about a month ago. There was just something so lovely about the wide scooped neckline and the simple shape. And that made it especially awesome to discover that she’d not only included a pattern for this style blouse in her book, but she’d also released it as a freebie on Make. I printed it out and then ran into my first snag–there’s no size chart included. A quick search turned one up from Threadbias and I was back in business.

I picked my size, added an FBA and measured. The waist seemed about an inch too high (I’m short, so that doesn’t usually happen but I slashed and spread under the bust dart anyway). Then I added a curved bottom hem because I didn’t plan to tuck in the blouse and thought a curved hem would be more flattering.

I’ve been on a tiny “learn to sew knits” kick lately (learning how to reduce the foot pressure on my Singer 401 was a revelation–suddenly, my knits stopped getting all wavy! no special foot required), so I decided to stitch up a wearable muslin out of an old T-shirt sheet. Because I was using a knit, I decided to omit the tucks which means I probably ought to take the sides in a bit as it’s a little baggy the way it is. (I like my clothes several sizes too large, but I’ve decided it’s time I outgrew this habit and started dressing more like an adult than a college student ;-).)

I stitched up my blouse and added fold over elastic to the neckline. Then I tossed the whole thing in the kitchen sink with some fuchsia Rit Dye and let it soak for a couple hours. When it came out, the FOE was darker than the shirt (just what I was hoping for!) and it was a really flattering shade of pink.

my portrait blouse

I left the bottom and sleeves unhemmed and like the way they curl a bit. I don’t like the way this fabric comes out of the dryer all rumpled and really ought to be pressed, but you’ll just have to overlook the wrinkles–I pressed it before I wore it out but this is what it looks like straight from the dryer.

(Also: I know modeled shots are better for figuring out if you want to make something. I also know I am terrible at having my picture taken. Hence the headless shot–my hair was practically covering my face in this one, but at least the shirt’s in focus!)